
30 DIY Photoshoot Ideas That Look Professional On A Budget
You can create stunning, professional-looking photos on a budget by using natural light during golden hour and crafting DIY reflectors from household items like poster boards or aluminum foil to brighten shadows. Build inexpensive backdrops with fabric or paper and experiment with reflections using water or mirrors for unique effects. Try setting up a mini studio with lamps or make a DIY light tent for soft, even lighting. Explore these creative tips to elevate your photoshoot game without breaking the bank.
Use Natural Light for Flattering Photos
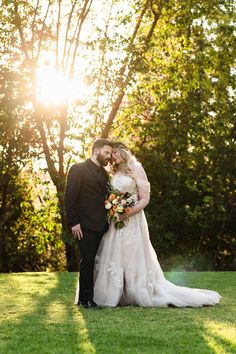
Image Credit: Pinterest
Natural light often produces the most flattering photos without the need for additional equipment.
Shooting during the golden hour provides warm, soft tones that enhance your subject’s features.
If direct sunlight feels too harsh, consider diffusing it by placing a sheer curtain over the window. This technique softens the light, minimizes shadows, and creates a gentle, professional look for your shots.
Try Outdoor Photoshoots in Local Parks or Gardens
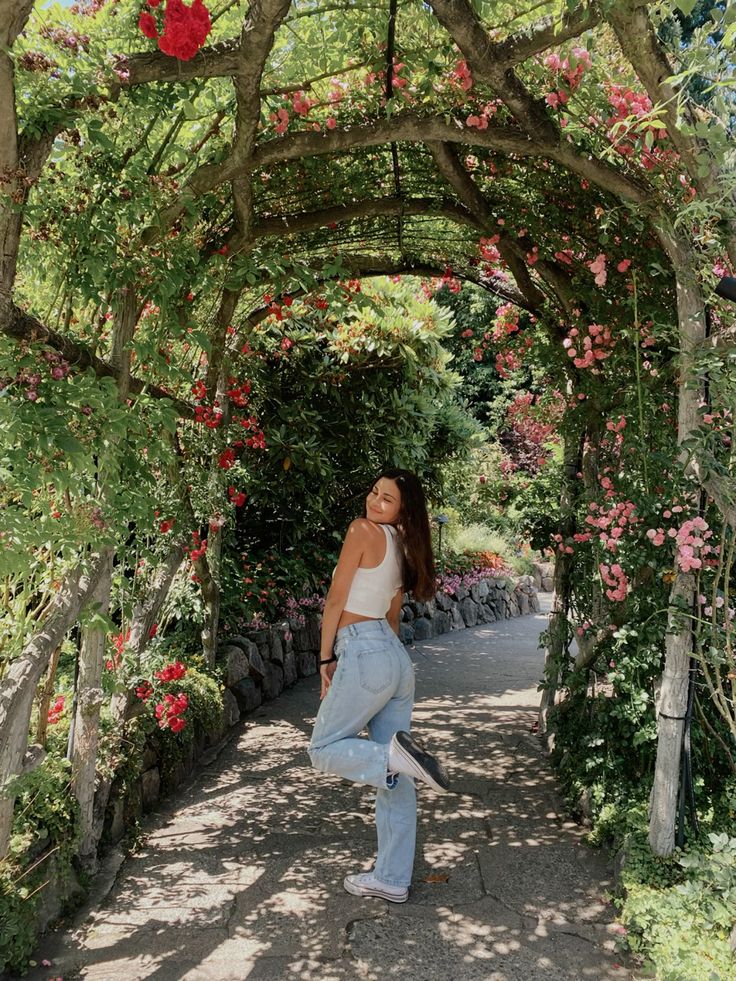
Image Credit: Pinterest
When exploring new settings, local parks or gardens offer vibrant, natural backdrops that add depth and color to your photos. Take advantage of seasonal blooms to create dynamic compositions. Before shooting, check if you need park permits to avoid disruptions. These outdoor locations provide diverse, budget-friendly options that enhance your DIY photoshoot without the need for expensive equipment or studio space.
Set up a Mini Studio With a Blank Wall and Lamps
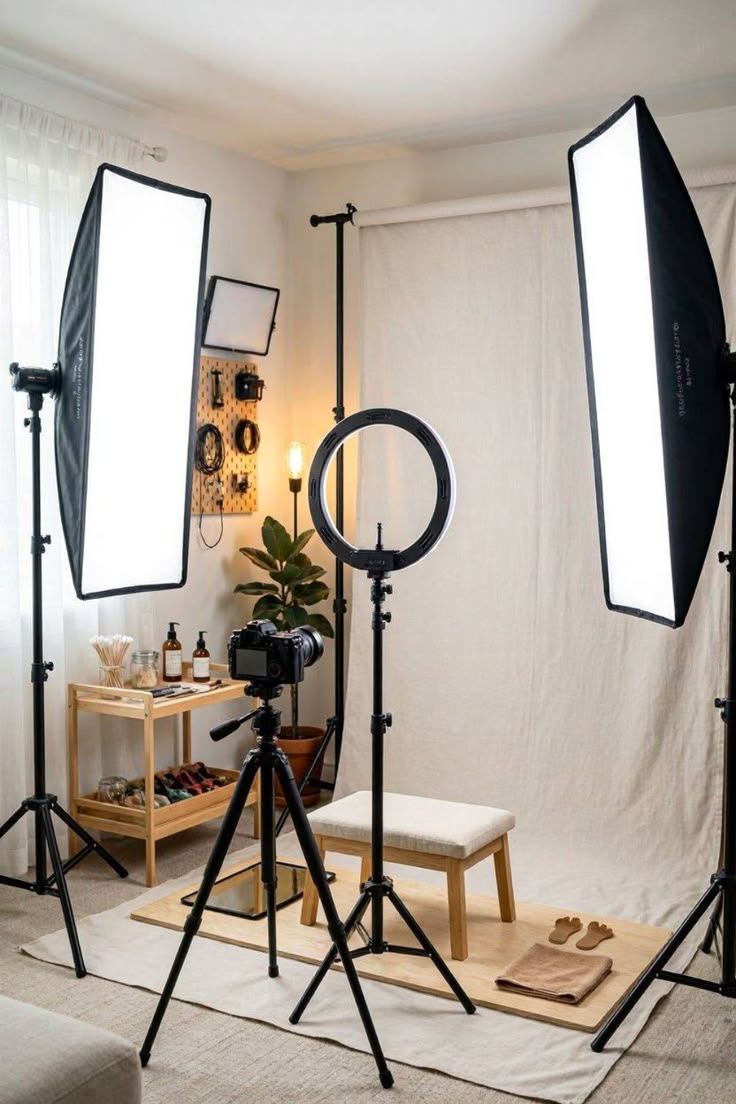
Image Credit: Pinterest
After enjoying vibrant outdoor shots, bring your photoshoot indoors by setting up a mini studio using a blank wall and some lamps. Utilize softbox alternatives like diffused lampshades or white cloth to soften the light. Secure your lighting with wall-mounted clamps for stability and flexibility. This simple setup allows you to create professional-looking portraits without the need for expensive gear or bulky equipment.
Use Colored Sheets or Curtains as Creative Backdrops
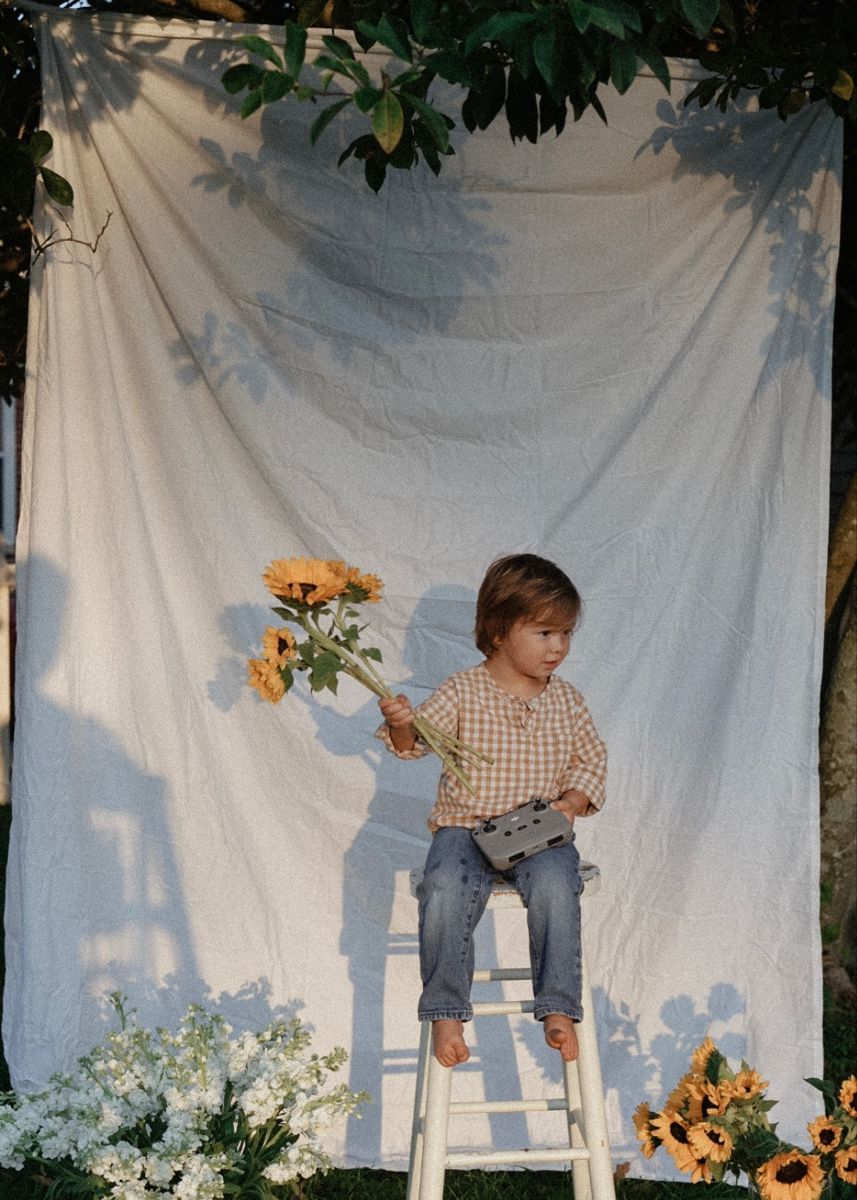
Image Credit: Pinterest
A few colorful sheets or curtains can instantly transform your photoshoot space into a vibrant and eye-catching set. Choose bold fabrics to create striking backdrops that stand out on camera. Experiment with layering different textures or prints for added depth and interest. This simple, budget-friendly method elevates your photoshoot’s professionalism without the need for expensive equipment or props.
Make Your Own Light Diffuser From White Bedsheets
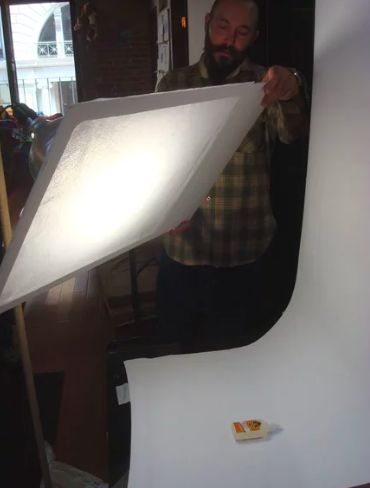
Image Credit: Pinterest
Colored backdrops set the scene, but controlling your lighting can make or break your photos. Create a bedroom softbox by stretching a white bedsheet tight with proper sheet tensioning over a frame or light source. This DIY diffuser softens harsh light, reducing shadows and giving your shots a professional, even glow without expensive gear. It’s simple and effective.
Shoot Through Textured Glass or Plastic for Effects
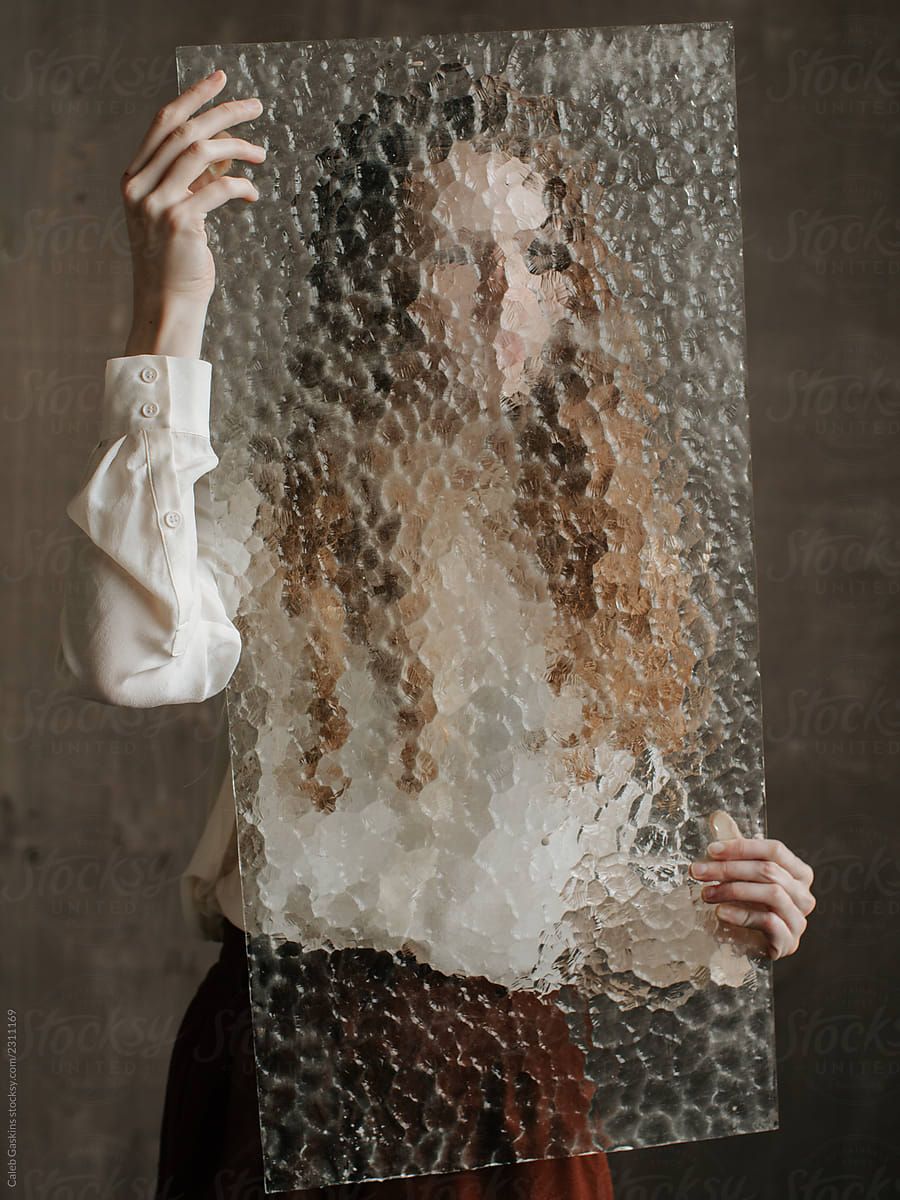
Image Credit: Pinterest
Shooting through textured glass or plastic transforms ordinary scenes into mesmerizing compositions by adding unique patterns and distortions. You can experiment with various types of textured materials to create dreamy, abstract effects.
Position your subject behind these materials, adjust lighting, and focus to emphasize shapes and colors, turning simple shots into artistic, professional-looking images without breaking your budget.
Use Mirrors to Add Depth and Interesting Angles
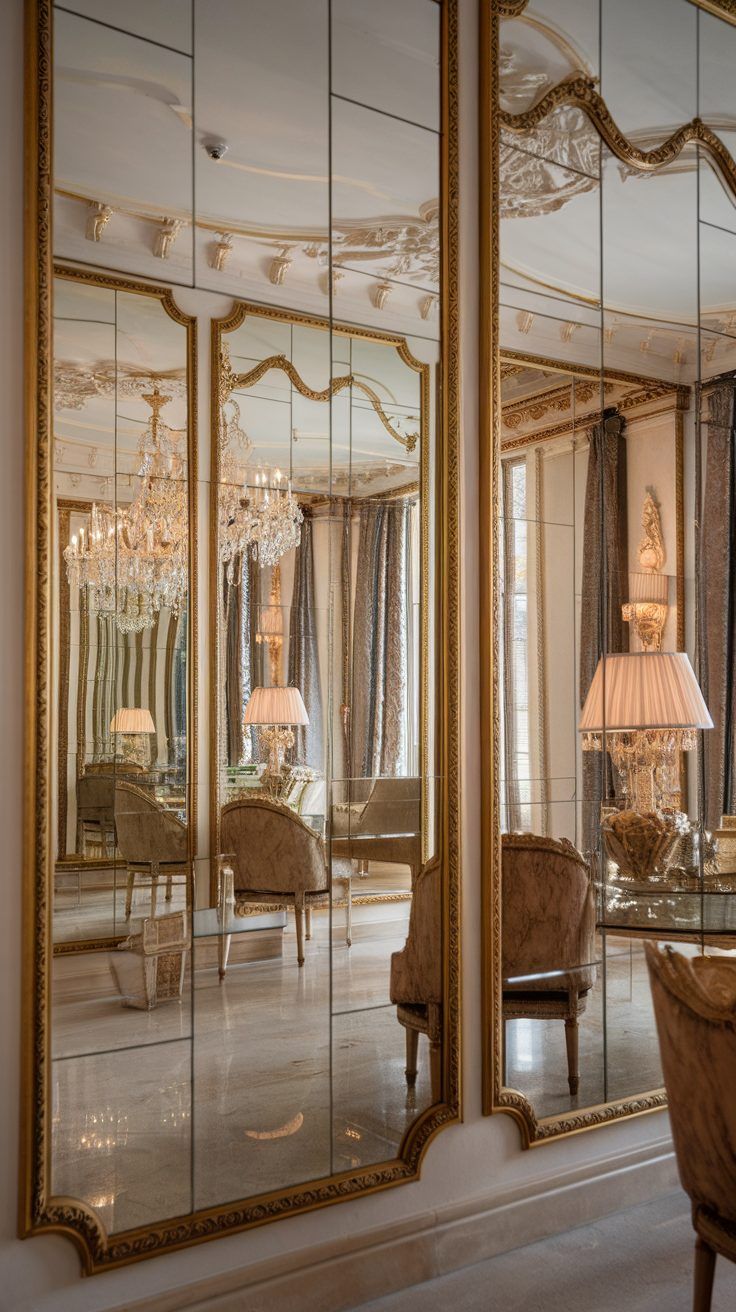
Image Credit: Pinterest
Although mirrors might seem simple, they offer powerful ways to add depth and create intriguing angles in your photos. Use angled mirrors to reflect unexpected perspectives, adding dimension to flat scenes.
Experiment with mirror layering—placing multiple mirrors at different angles—to craft complex reflections and dynamic compositions. This technique instantly elevates your shots without extra equipment or expense.
Style a Photoshoot Using Everyday Props From Home
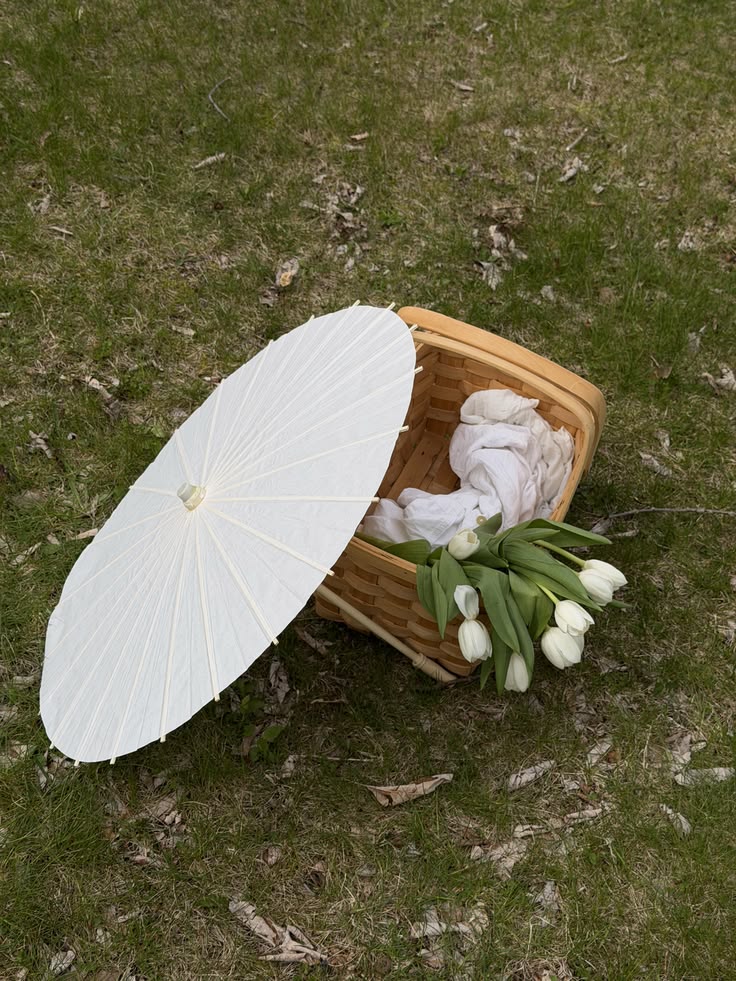
Image Credit: Pinterest
Mirrors help you create engaging visuals, but you don’t need special tools to add flair to your photos. Use household props like scarves, books, or plants for improvised styling that adds personality and texture. Experiment with everyday items to create unique compositions, making your photoshoot both budget-friendly and creative without sacrificing professional appeal.
Turn a Window Into a Soft Light Source for Portraits
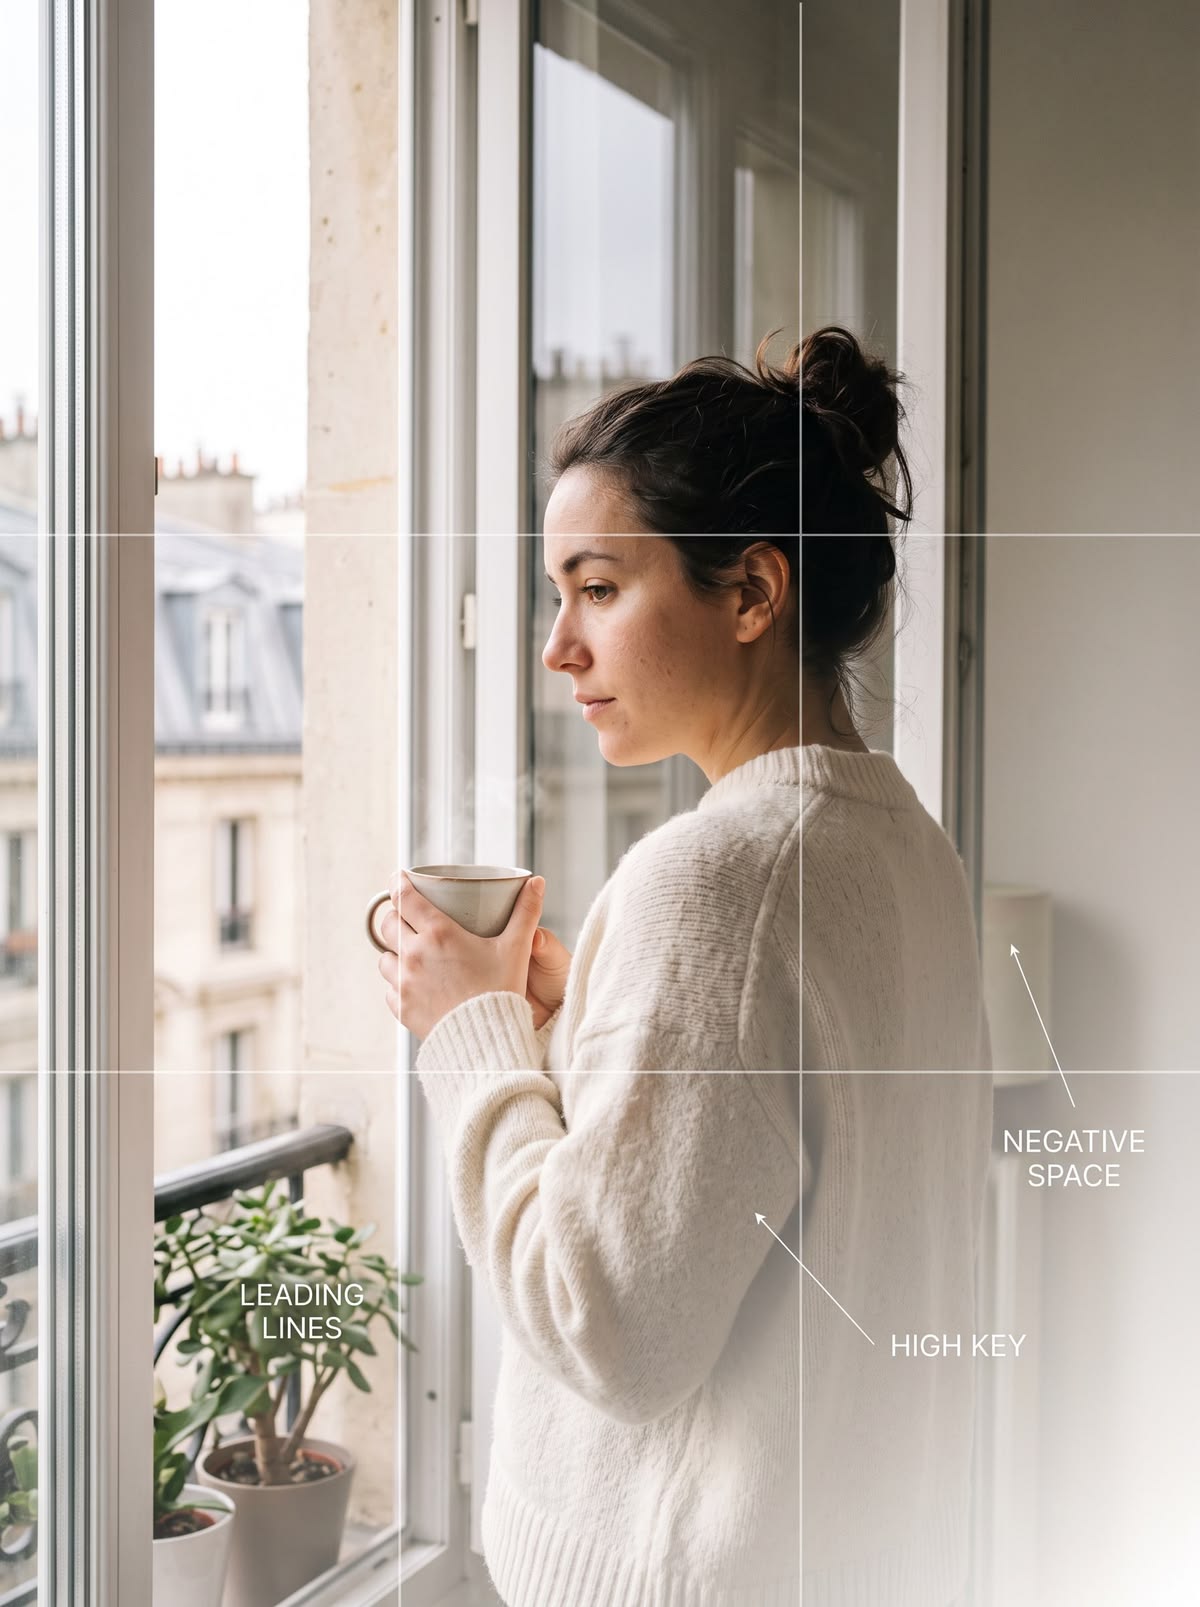
Image Credit: Pinterest
Natural light from a window creates a soft, flattering glow that enhances portraits effortlessly. Use a window diffuser to soften harsh sunlight and reduce shadows. Position your subject carefully, considering portrait placement to avoid direct glare. Experiment with angles to find the most flattering light, turning any window into an affordable, professional-quality light source for your DIY photoshoot.
Experiment With Shadows Using Simple Objects
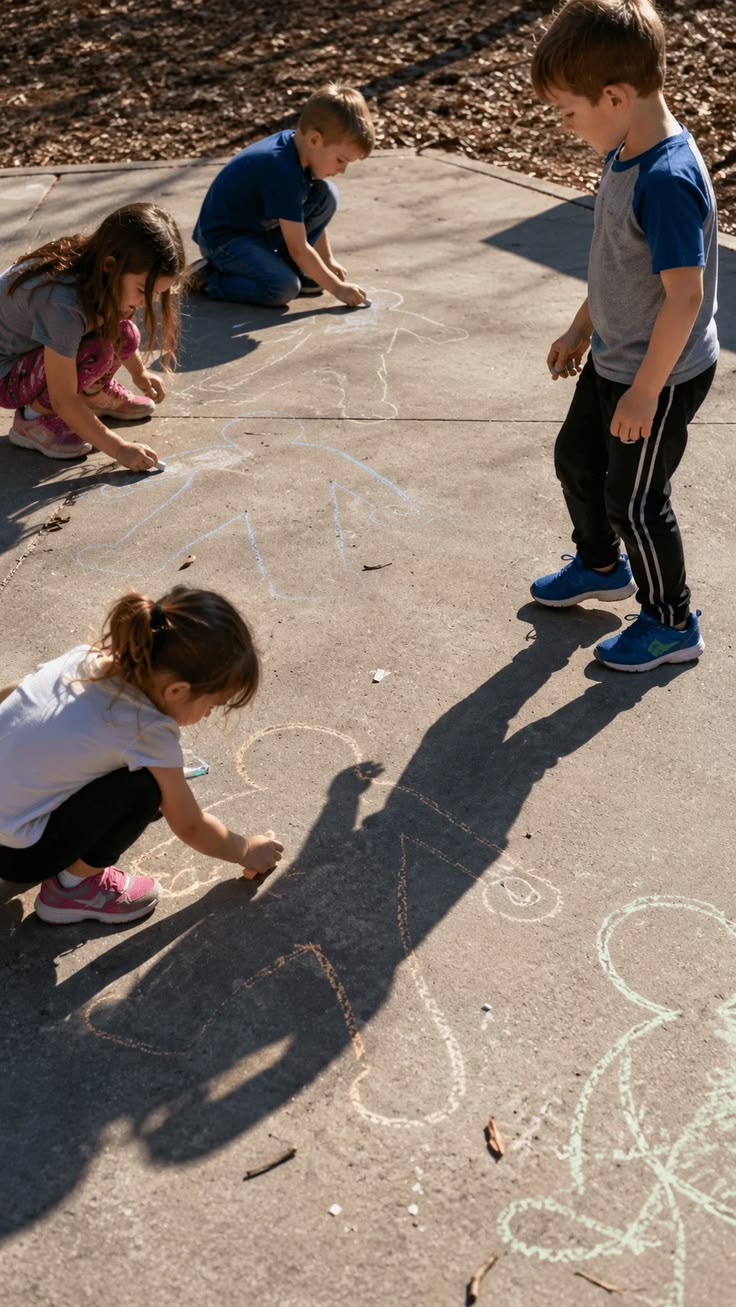
Image Credit: Pinterest
You can often create striking effects by experimenting with shadows using simple objects around you. Use everyday items like leaves, lace, or toys to cast intriguing object silhouettes. Position a light source to highlight these shapes and explore shadow play to add depth and drama. This technique transforms basic setups into artistic, professional-looking photos without extra cost or equipment.
Create Bokeh Effects With DIY String Lights
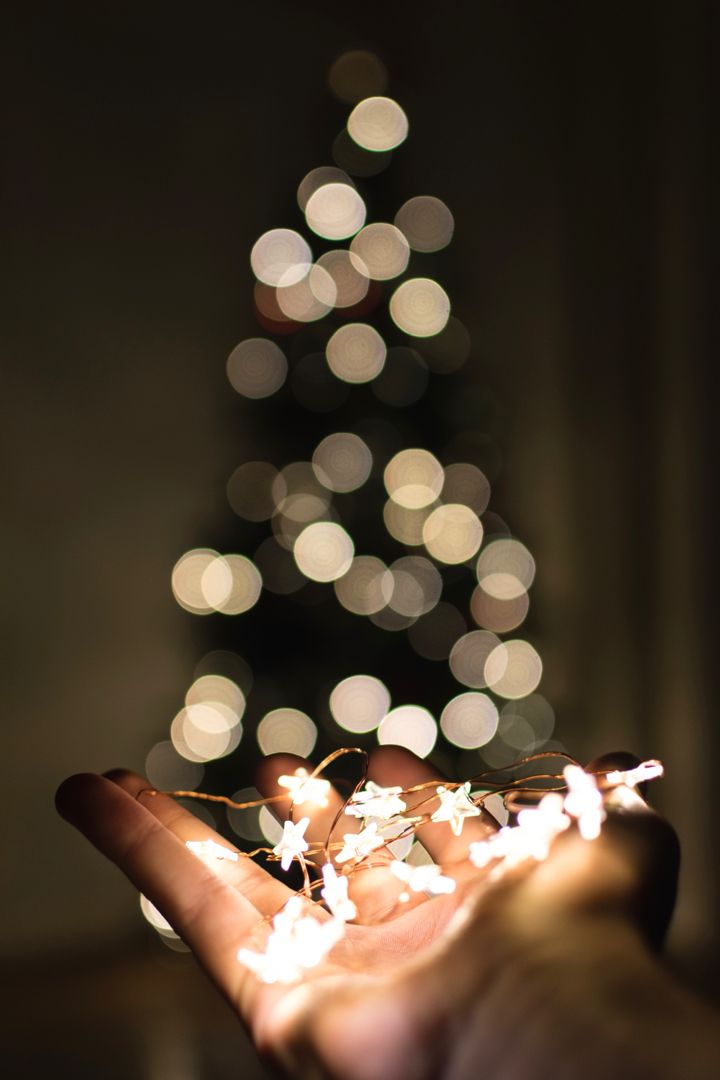
Image Credit: Pinterest
Although creating professional bokeh effects might seem complicated, you can easily achieve them at home using DIY string lights. Hang a bokeh garland made from fairy orbs behind your subject, then shoot with a wide aperture to blur the background. This simple setup adds dreamy, glowing circles that elevate your photos without expensive gear or complicated editing.
Use a Smartphone With Clip-On Lenses for Macro Shots
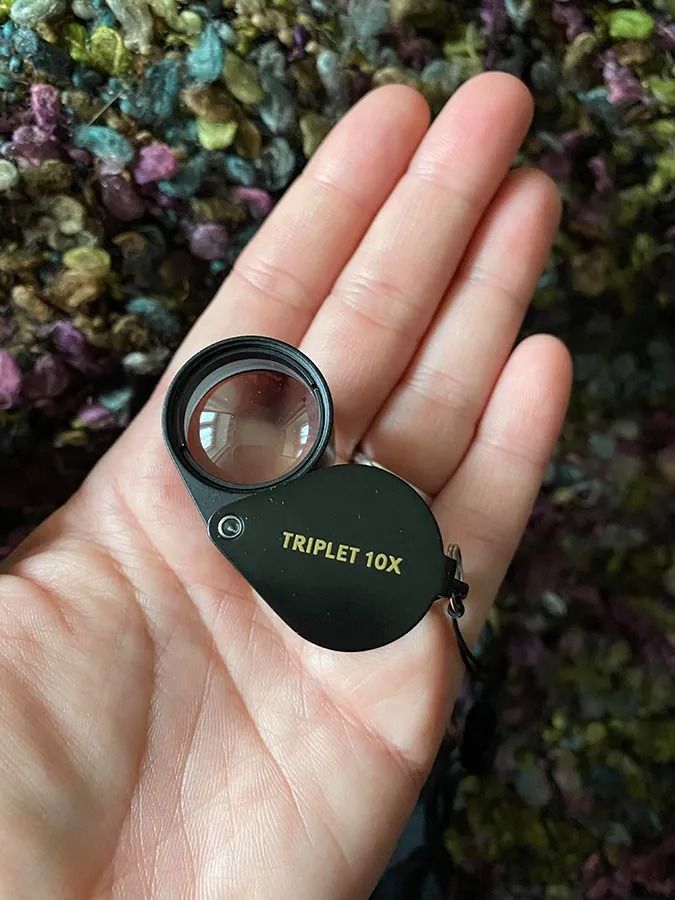
Image Credit: Pinterest
Enhance the tiny details in your photos by using a smartphone with clip-on lenses for macro shots. These budget-friendly clip-on lenses transform your device into a potent macro photography tool, allowing you to capture intricate textures and small objects with impressive clarity. Just attach the lens, adjust your distance, and witness your close-up photography flourish without the need for costly equipment.
Arrange Books or Boxes to Build a Raised Platform
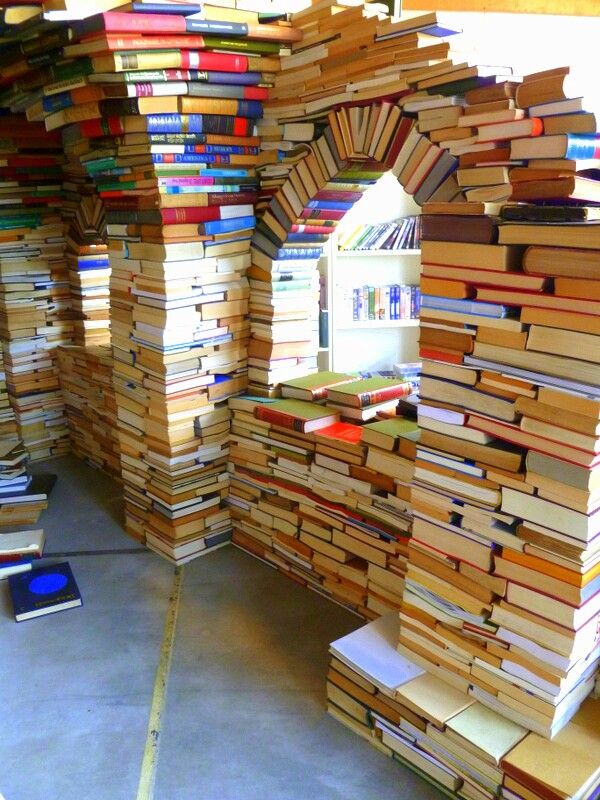
Image Credit: Pinterest
Stacking books or boxes creates a sturdy raised platform that adds height and dimension to your photos. Use stacked crates to form an elevated podium, giving your subject more prominence.
This simple technique lets you experiment with angles and layers without extra equipment. Plus, it’s budget-friendly and easy to adjust, helping your DIY photoshoot look professional with minimal effort.
Incorporate Plants and Flowers for Natural Texture
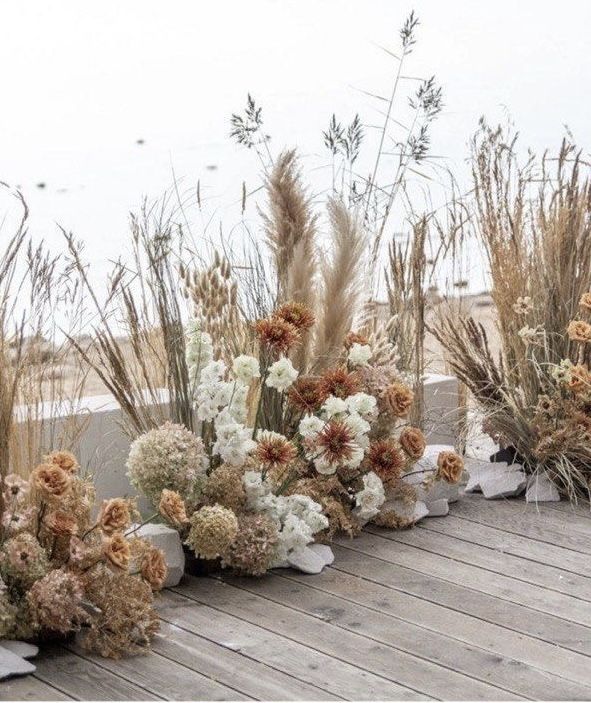
Image Credit: Pinterest
Once you’ve set up your platform, incorporating plants and flowers can instantly enhance the scene with natural texture and color. Use potted textures to create depth and interest, placing them strategically around your subject.
Floral props add a fresh, vibrant touch without much cost. These elements bring life and dimension, making your DIY photoshoot look effortlessly professional.
Use Colored Gels on Lamps for Mood Lighting
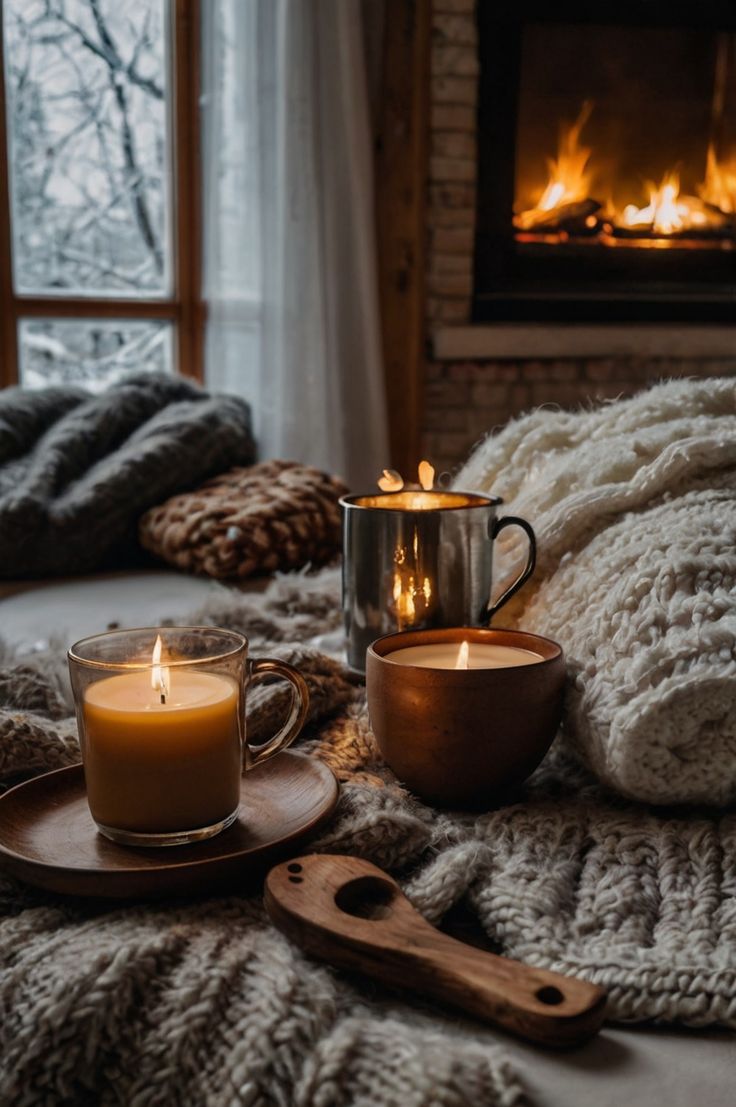
Image Credit: Pinterest
You can easily transform your photoshoot’s atmosphere by using colored gels on lamps. Experiment with gel color mixing to create unique hues that enhance mood contrasts in your shots. These gels let you control lighting warmth or coolness, adding depth without expensive equipment. Simply attach gels to lamps, adjust colors, and watch your images gain professional, dynamic lighting effects.
Make a DIY Ring Light Using LED Strips
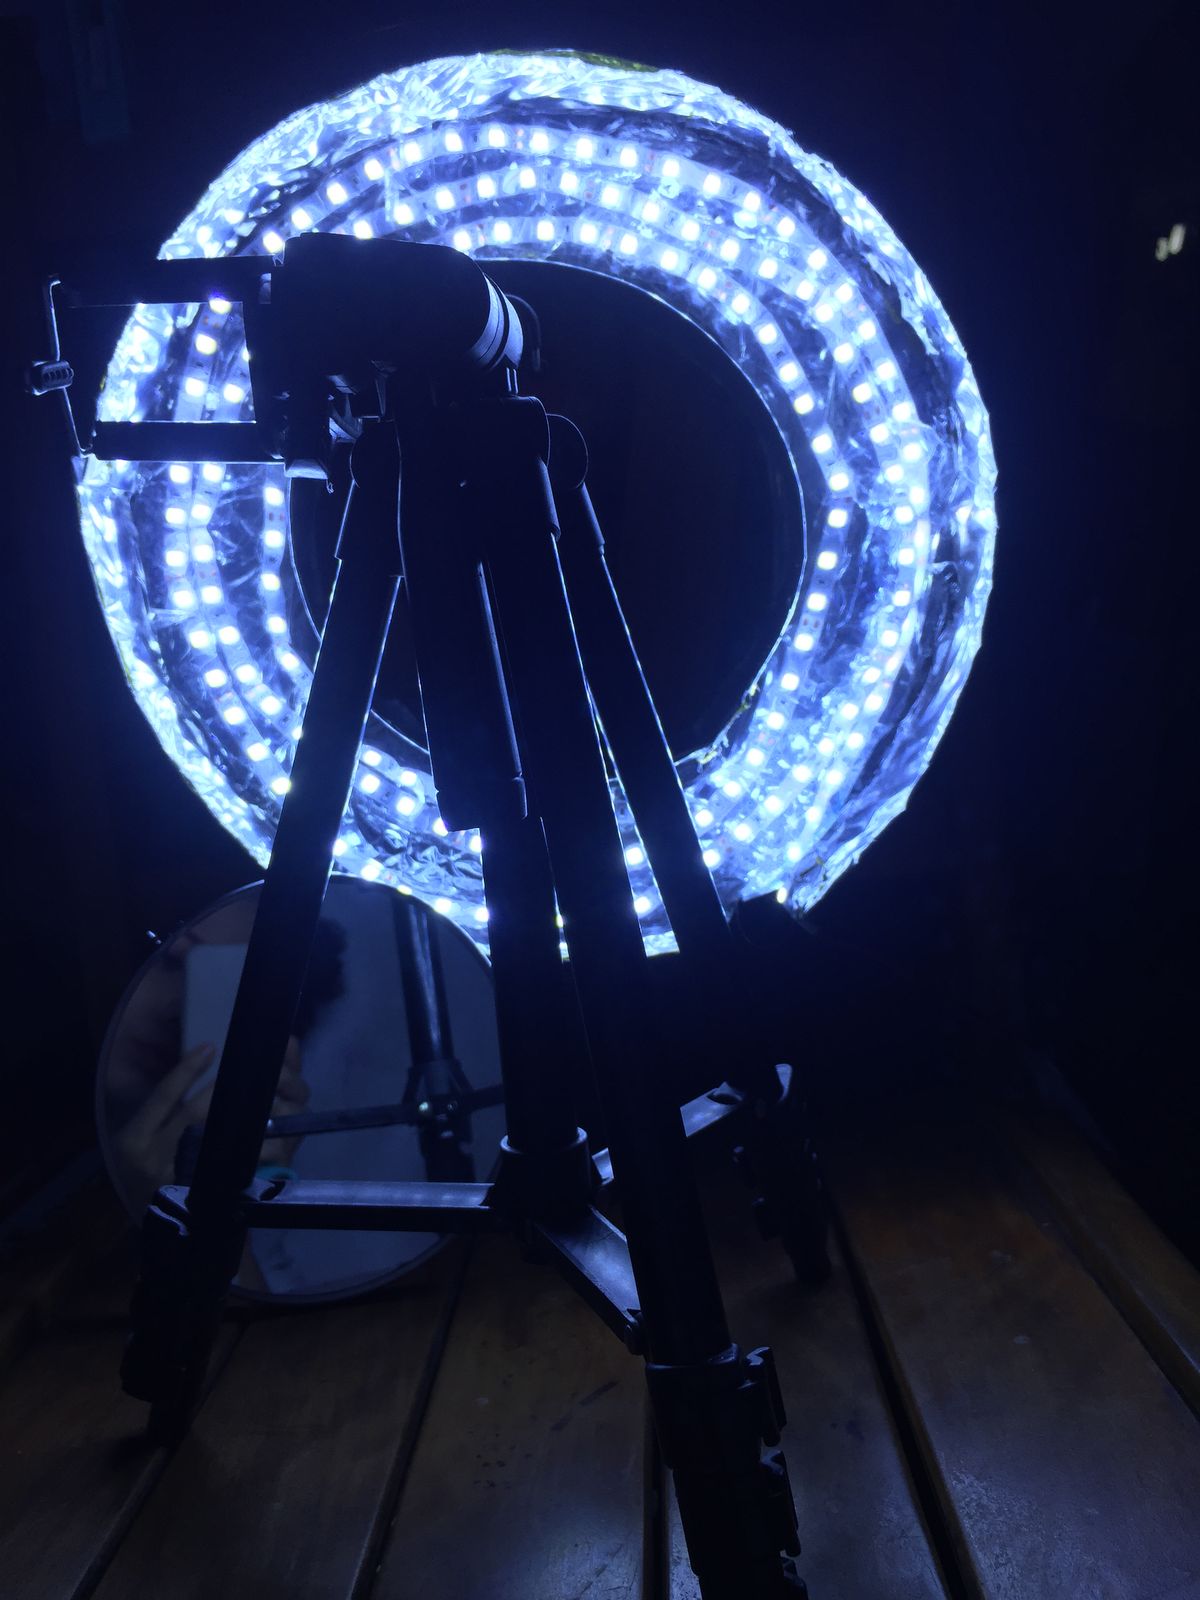
Image Credit: Pinterest
Create a DIY ring light using LED strips to give your photos a professional glow without breaking the bank. Attach flexible LED strips around a circular frame, ensuring even LED diffusion for soft, flattering light. Connect the strips to a reliable power supply, and secure everything with tape or glue. This affordable setup brightens your subject evenly, enhancing your shots with minimal effort.
Capture Motion With Slow Shutter and Flashlight Trails
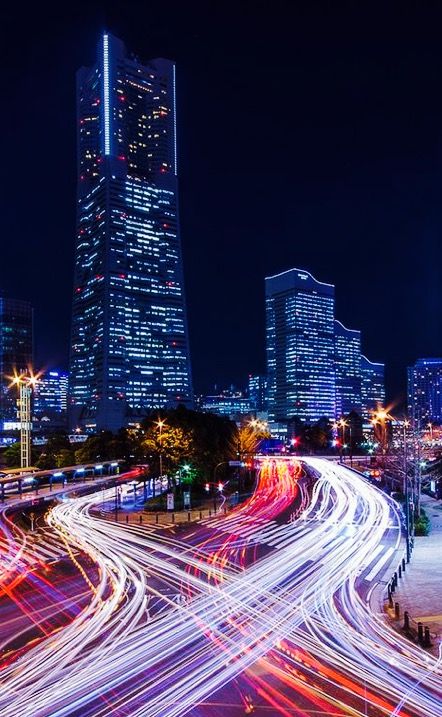
Image Credit: Pinterest
Bright, steady lighting like the DIY ring light sets a perfect stage for experimenting with dynamic effects such as slow shutter speeds and flashlight trails. Use long exposure to capture motion and create stunning flash painting effects by moving a flashlight during the shot. This technique adds artistic flair and movement, turning simple photos into visually enthralling, professional-looking images on a budget.
Use Reflective Surfaces Like Water or Metal for Creative Shots
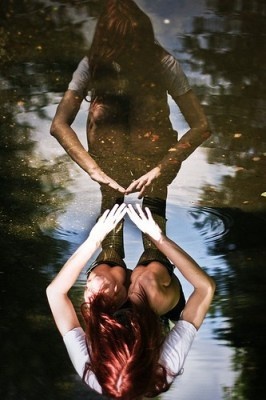
Image Credit: Pinterest
Incorporating reflective surfaces like water or metal into your photos opens up a realm of creative possibilities. Water reflections can capture stunning mirror images or create intriguing light distortions, while metallic surfaces introduce edgy highlights and dynamic textures.
Experimenting with angles can maximize these effects, lending your shots a professional, artistic touch without the need for extra cost or complex gear.
Shoot Through Fabric or Scarves for a Dreamy Look
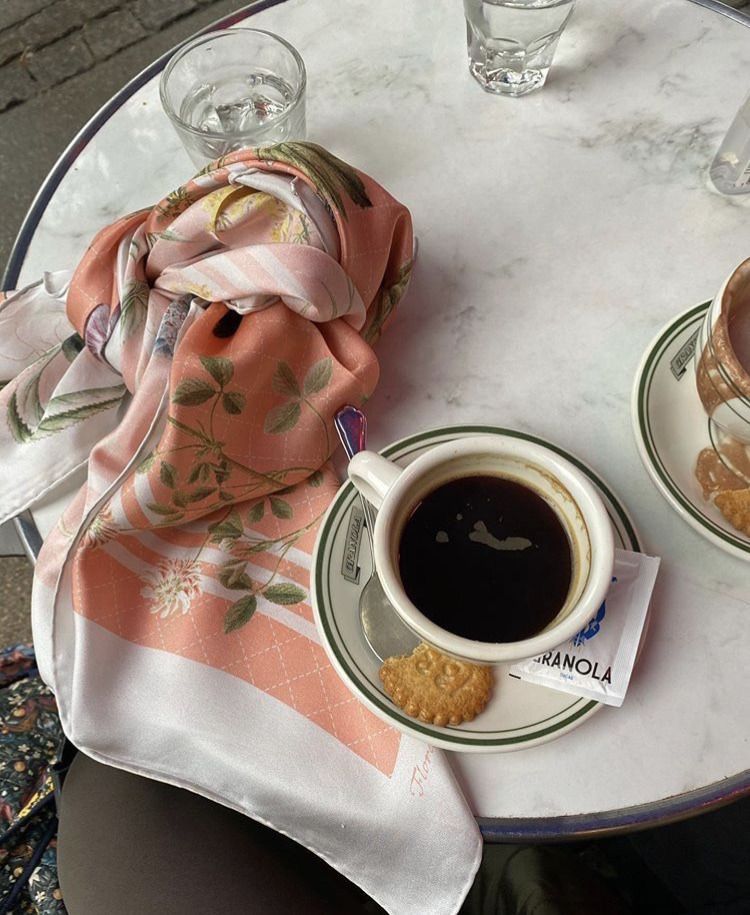
Image Credit: Pinterest
Reflective surfaces add striking visual interest, but you can also soften your photos by shooting through fabric or scarves. Experiment with sheer overlay portraits to create a gentle, ethereal vibe. Use a scarf bokeh foreground to add depth and dreamy texture, making your subject stand out beautifully. This simple trick gives your shots a professional, artistic feel on a budget.
Try Black and White Shots to Highlight Contrast and Texture
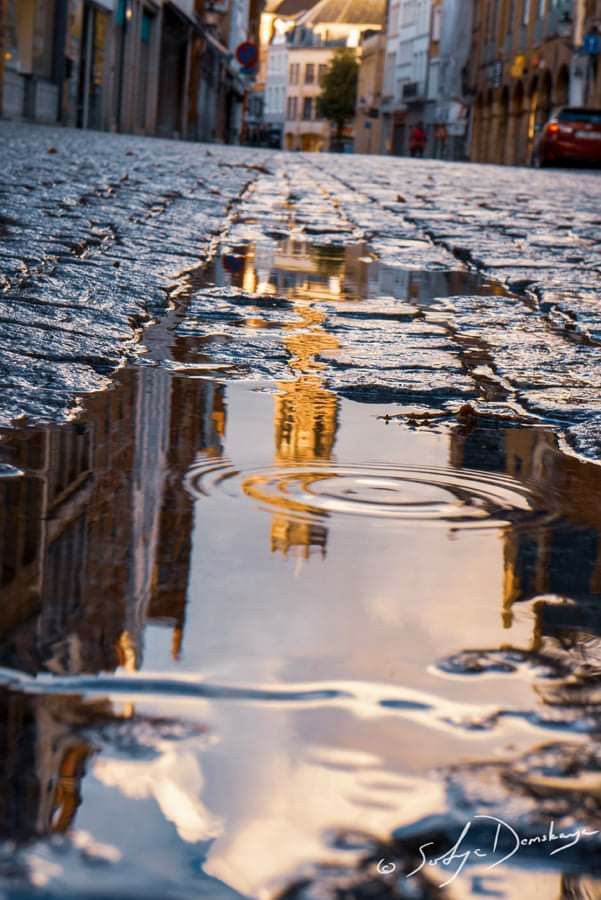
Image Credit: Pinterest
When you switch to black and white photography, you emphasize contrast and texture in ways color shots can’t capture. Focus on high contrast textures to make your images pop, and try monochrome portraits to reveal emotions more deeply. This simple technique transforms ordinary scenes into striking visuals, giving your DIY photoshoot a professional, artistic edge without spending extra money.
Use a Tripod and Timer for Self-Portraits or Group Shots
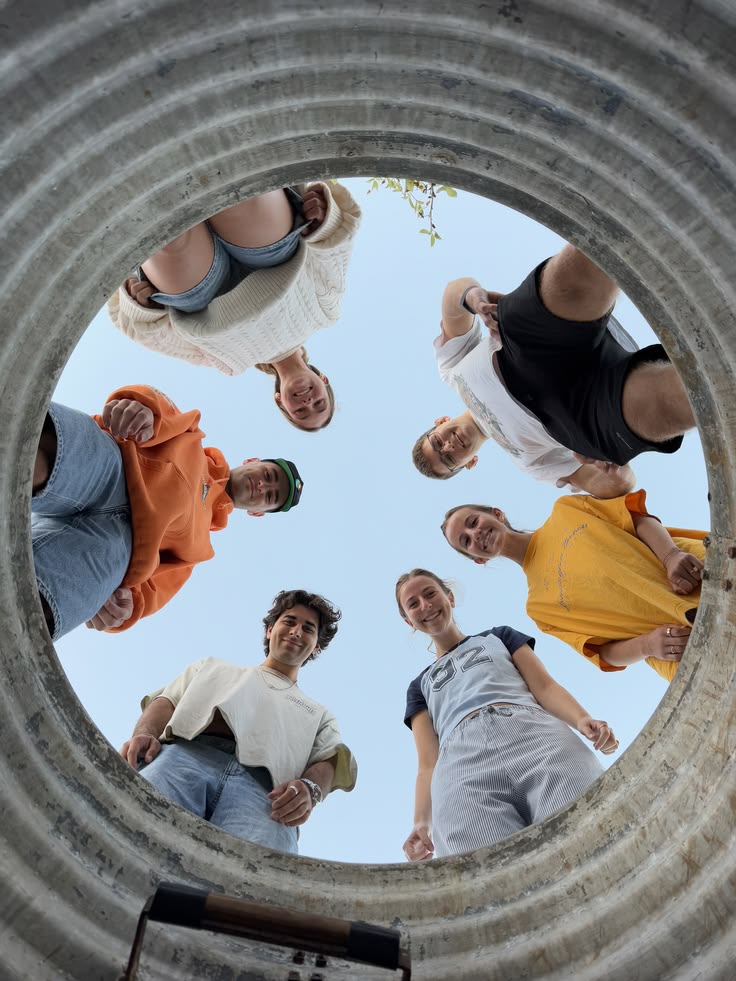
Image Credit: Pinterest
Although it might seem tricky at first, using a tripod and timer allows you to capture sharp, well-composed self-portraits or group shots without needing someone behind the camera.
Focus on tripod composition to frame your shot perfectly, and adjust the timer settings to give yourself ample time to get into position.
This setup ensures crisp images and balanced scenes every time.
Use Wrapping Paper or Gift Bags as Colorful Backgrounds
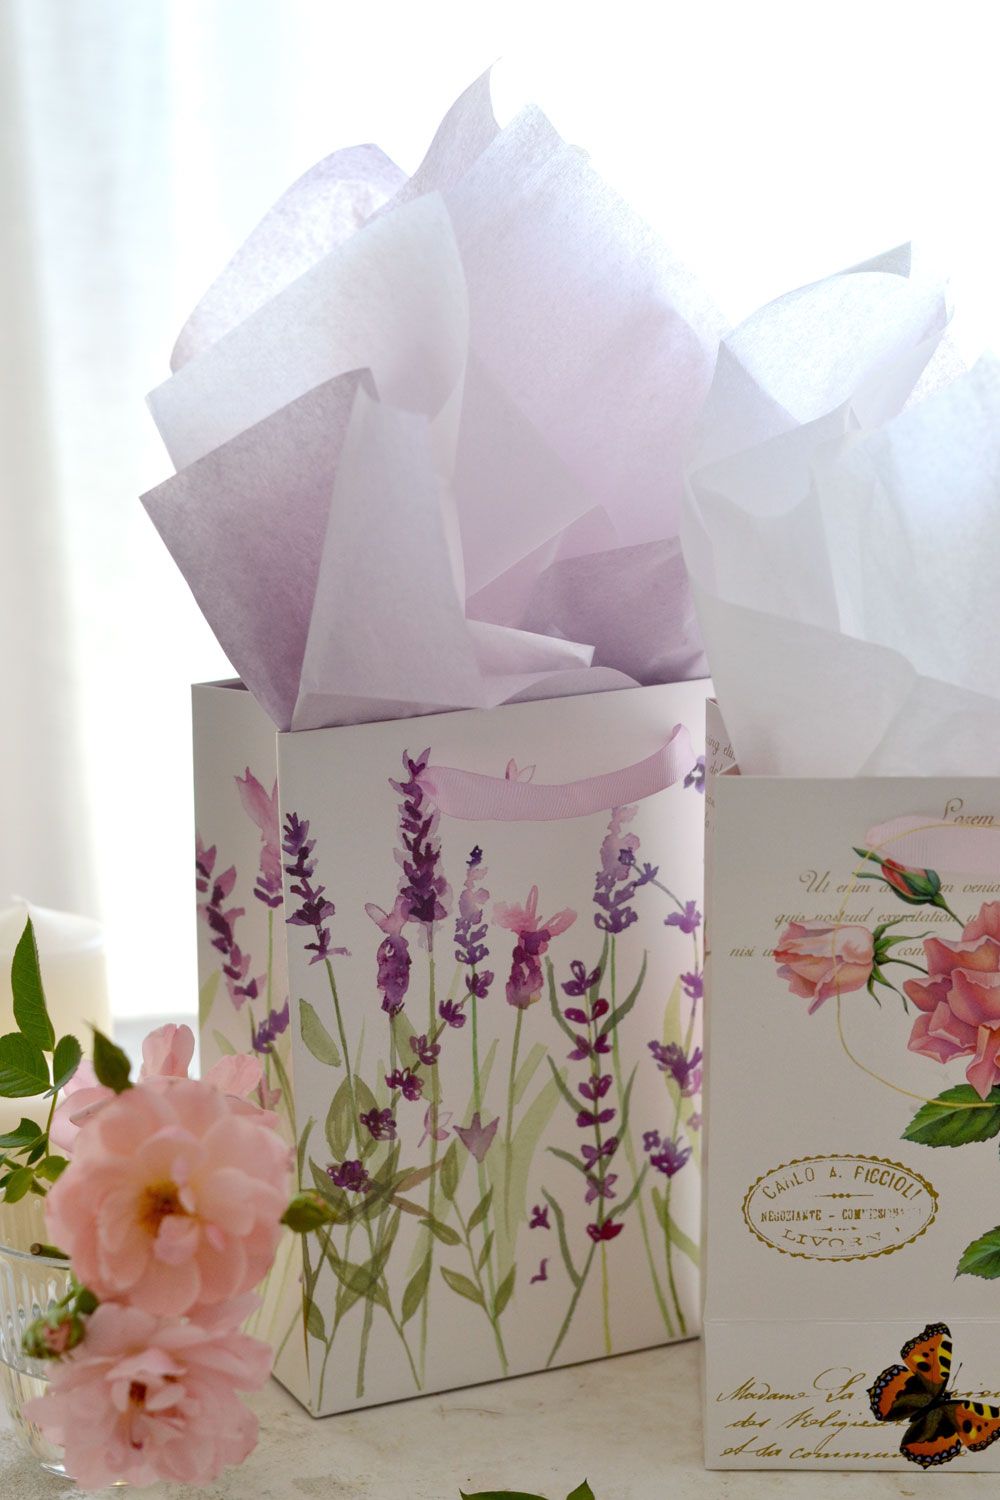
Image Credit: Pinterest
Using wrapping paper or gift bags as colorful backgrounds instantly adds vibrancy and personality to your photos. Choose patterned backdrops to create eye-catching scenes easily. Metallic accents on gift bags reflect light beautifully, giving your shots a professional touch without extra cost. Just tape or clip them to a wall, and you’ve got a budget-friendly, stylish background ready to go.
Capture Action Shots Using Burst Mode on Your Camera
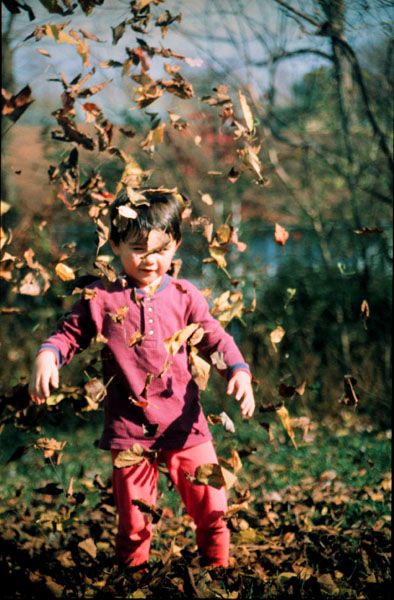
Image Credit: Pinterest
When you want to freeze fast-moving moments, burst mode on your camera becomes your best friend. Utilize precise burst timing to capture multiple frames in quick succession. Focus on subject tracking to keep your moving subject sharp throughout the sequence. This technique ensures you don’t miss the perfect action shot, giving your DIY photoshoot a professional look without the need for extra equipment.
Set up a Themed Photoshoot With Simple Costumes
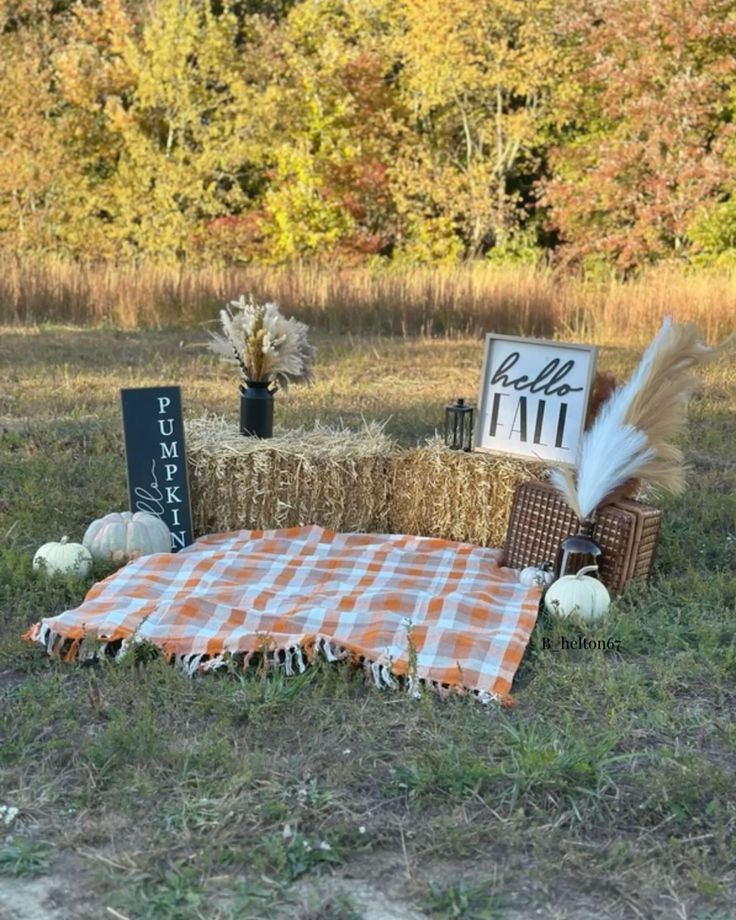
Image Credit: Pinterest
Bring your creative vision to life by setting up a themed photoshoot with simple costumes. Use character wardrobes from your closet or thrift stores to keep costs low. Focus on prop sourcing by repurposing everyday items to enhance your theme. This approach makes your photoshoot both budget-friendly and visually engaging, allowing you to create professional-looking images without overspending.
Use Everyday Furniture to Pose Models Creatively
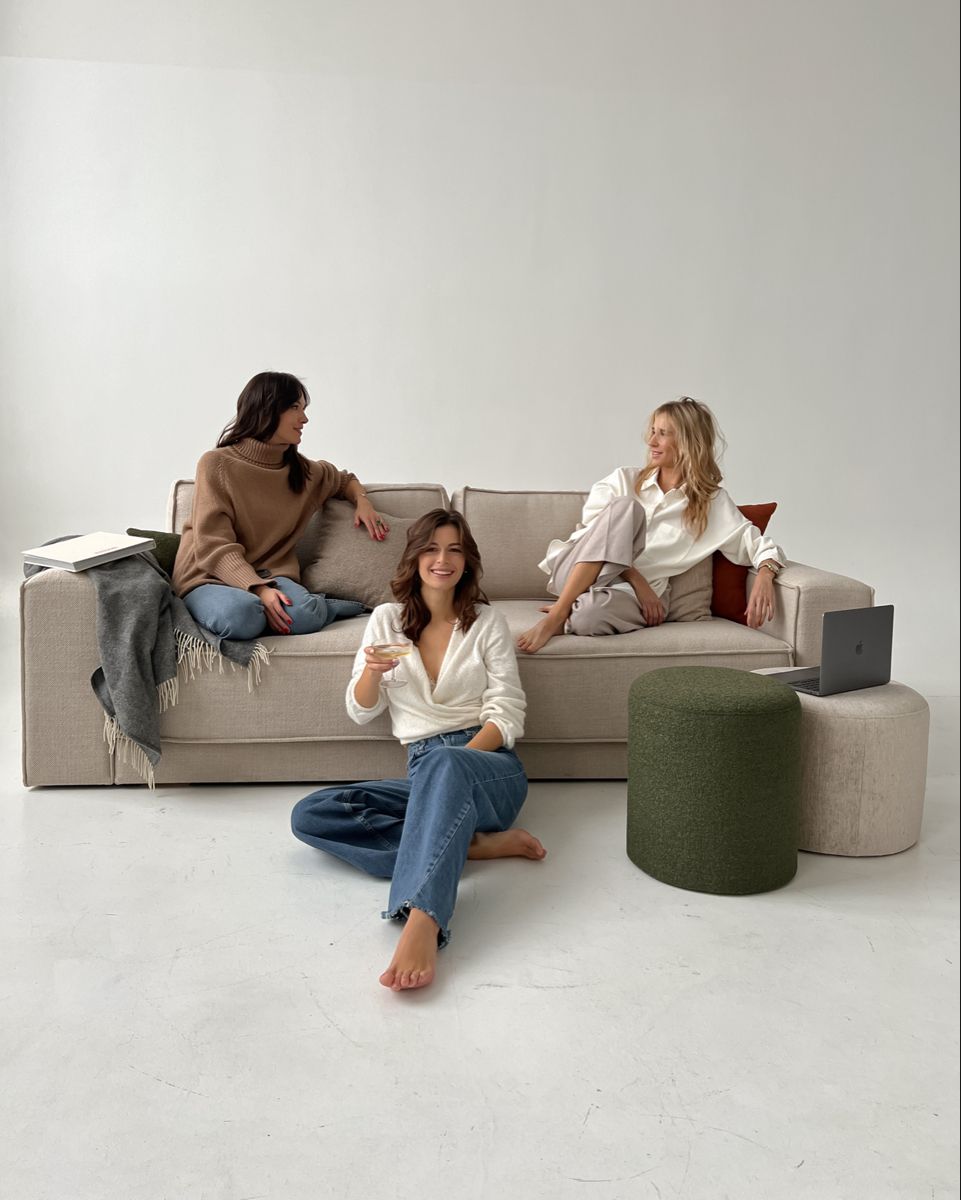
Image Credit: Pinterest
Transform ordinary chairs, tables, and shelves into dynamic posing tools that add depth and interest to your photos. Use creative seating to help your models relax and strike natural poses.
Employ furniture framing to highlight your subject and create compelling compositions. This approach keeps your shoot budget-friendly while adding professional polish through simple yet effective staging techniques.
Shoot Through Prisms or Crystal Glass for Unique Effects
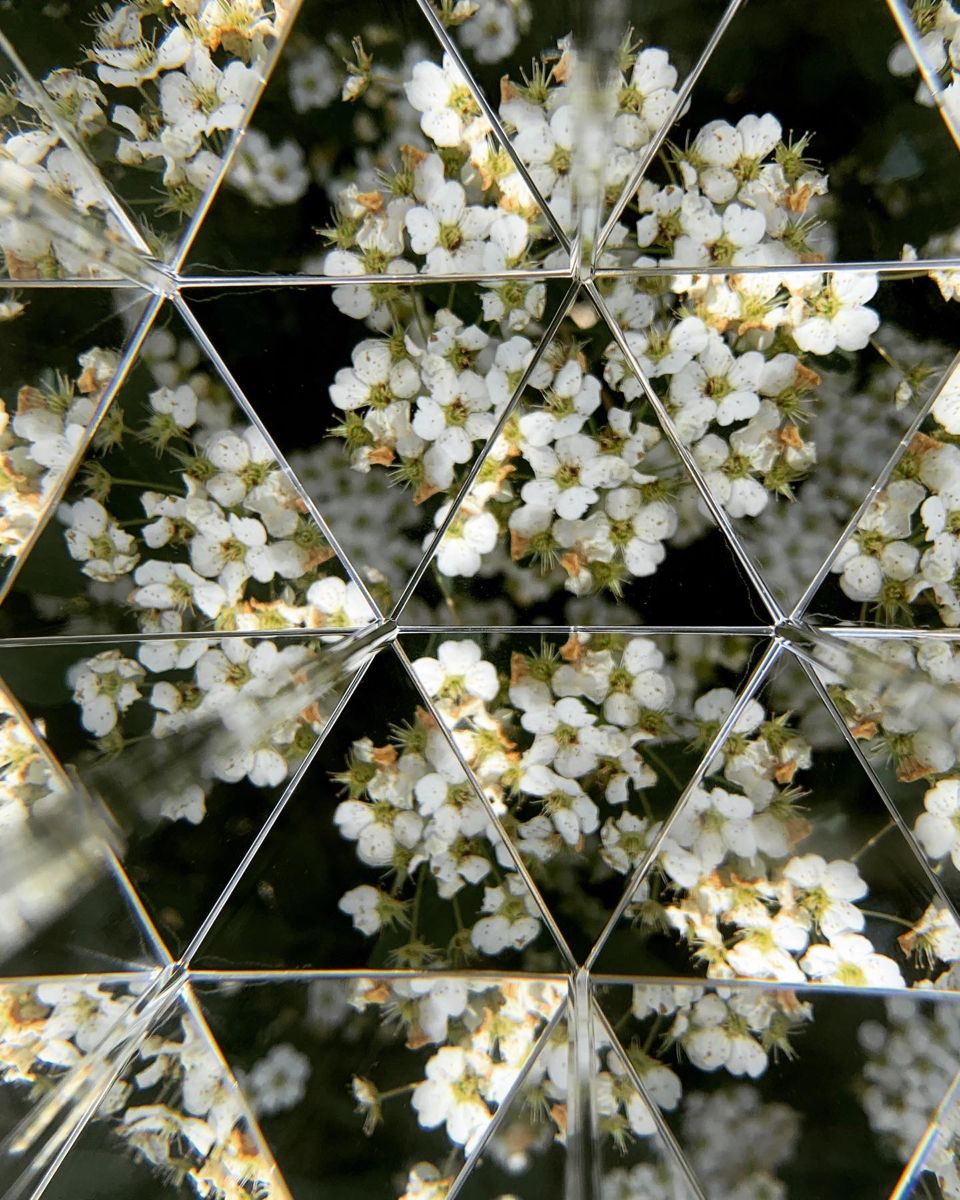
Image Credit: Pinterest
By shooting through prisms or crystal glass, you can create striking distortions and light refractions that add depth and intrigue to your photos. Try prism portraits to bend light creatively and highlight your subject uniquely.
Using crystal glass can also produce beautiful crystal bokeh effects, turning ordinary backgrounds into sparkling, artistic compositions that elevate your budget-friendly photoshoot effortlessly.
Use Tape or String to Create Geometric Patterns on Walls
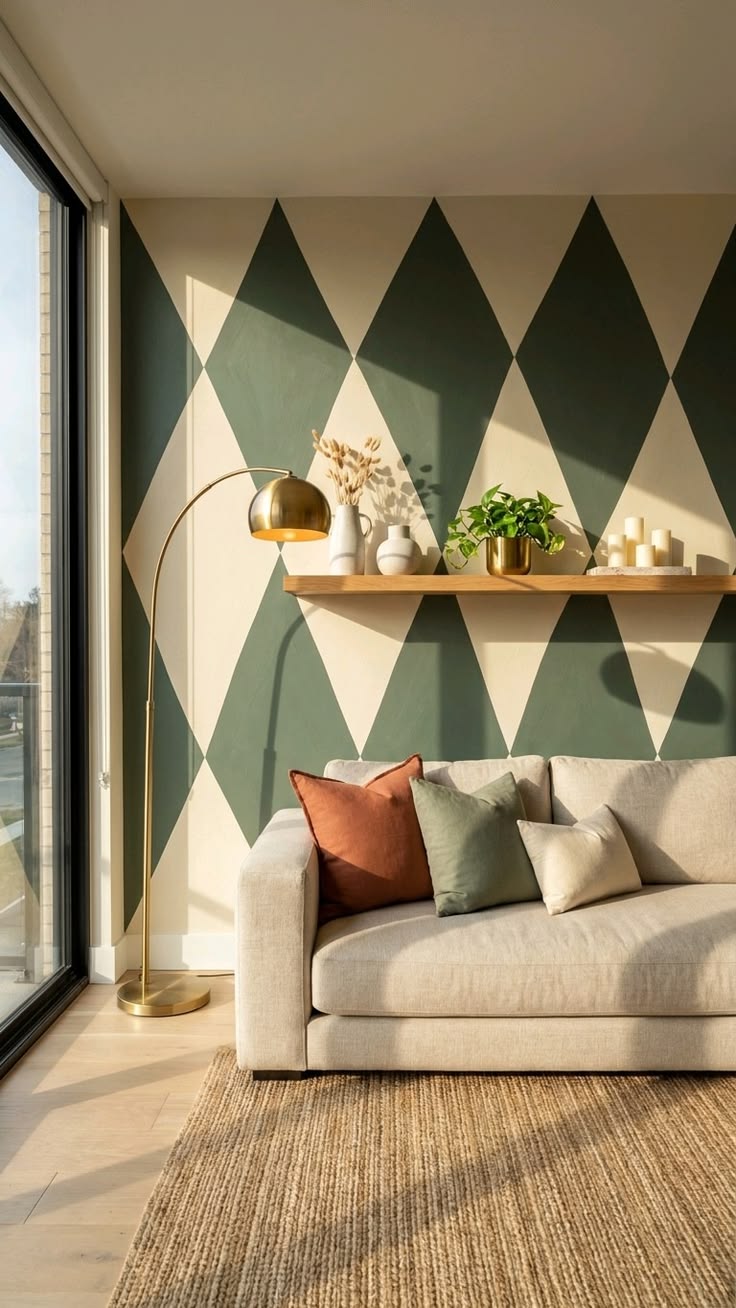
Image Credit: Pinterest
Create eye-catching backgrounds by arranging tape or string into geometric patterns on your walls. Use washi tape for colorful, removable designs or painter’s tape for precise straight lines. These materials help you craft modern, professional-looking backdrops without causing damage.
Experiment with different shapes and angles to add depth and interest, making your photoshoot space unique and budget-friendly.
Conclusion
You don’t need expensive gear to capture stunning photos. By using natural light, household items, and creative setups like DIY reflectors or backdrops, you can achieve professional-looking results on a budget. Step outside to local parks, experiment with reflections, or build a mini studio at home. With a little creativity and effort, your photoshoots will look polished and unique every time. So grab your camera and start creating amazing shots today!